Google Flow for Beginners: Master AI Video & Image Creation (2026)
Google Flow just made AI video creation accessible to anyone with a browser and an idea. The platform has already powered over 1.5 billion images and videos since launch, and the 2026 updates transfor...
Google Flow just made AI video creation accessible to anyone with a browser and an idea. The platform has already powered over 1.5 billion images and videos since launch, and the 2026 updates transform it from experimental toy into serious production tool. If you've been waiting for the right moment to start creating AI-generated content, this is it.
The learning curve is shorter than you think. Most beginners generate their first usable image in under five minutes and understand the core workflow within an hour. The real barrier isn't technical complexity but knowing which features matter and which ones you can ignore while you're learning.
This guide walks you through everything from account setup to your first finished project. You'll learn exactly which AI models do what, when the free tier stops being enough, and how to write prompts that actually work. No fluff, no theory, just the practical steps that get you creating.
What Is Google Flow and Why Beginners Should Start Using It in 2026
Google Flow is Google's AI filmmaking platform that turns text descriptions into images and videos. It runs on three connected AI models: Nano Banana for images, Veo 3.1 for video, and Gemini Omni Flash for natural language editing. The platform lives at labs.google/fx/tools/flow and requires only a Google account to start.
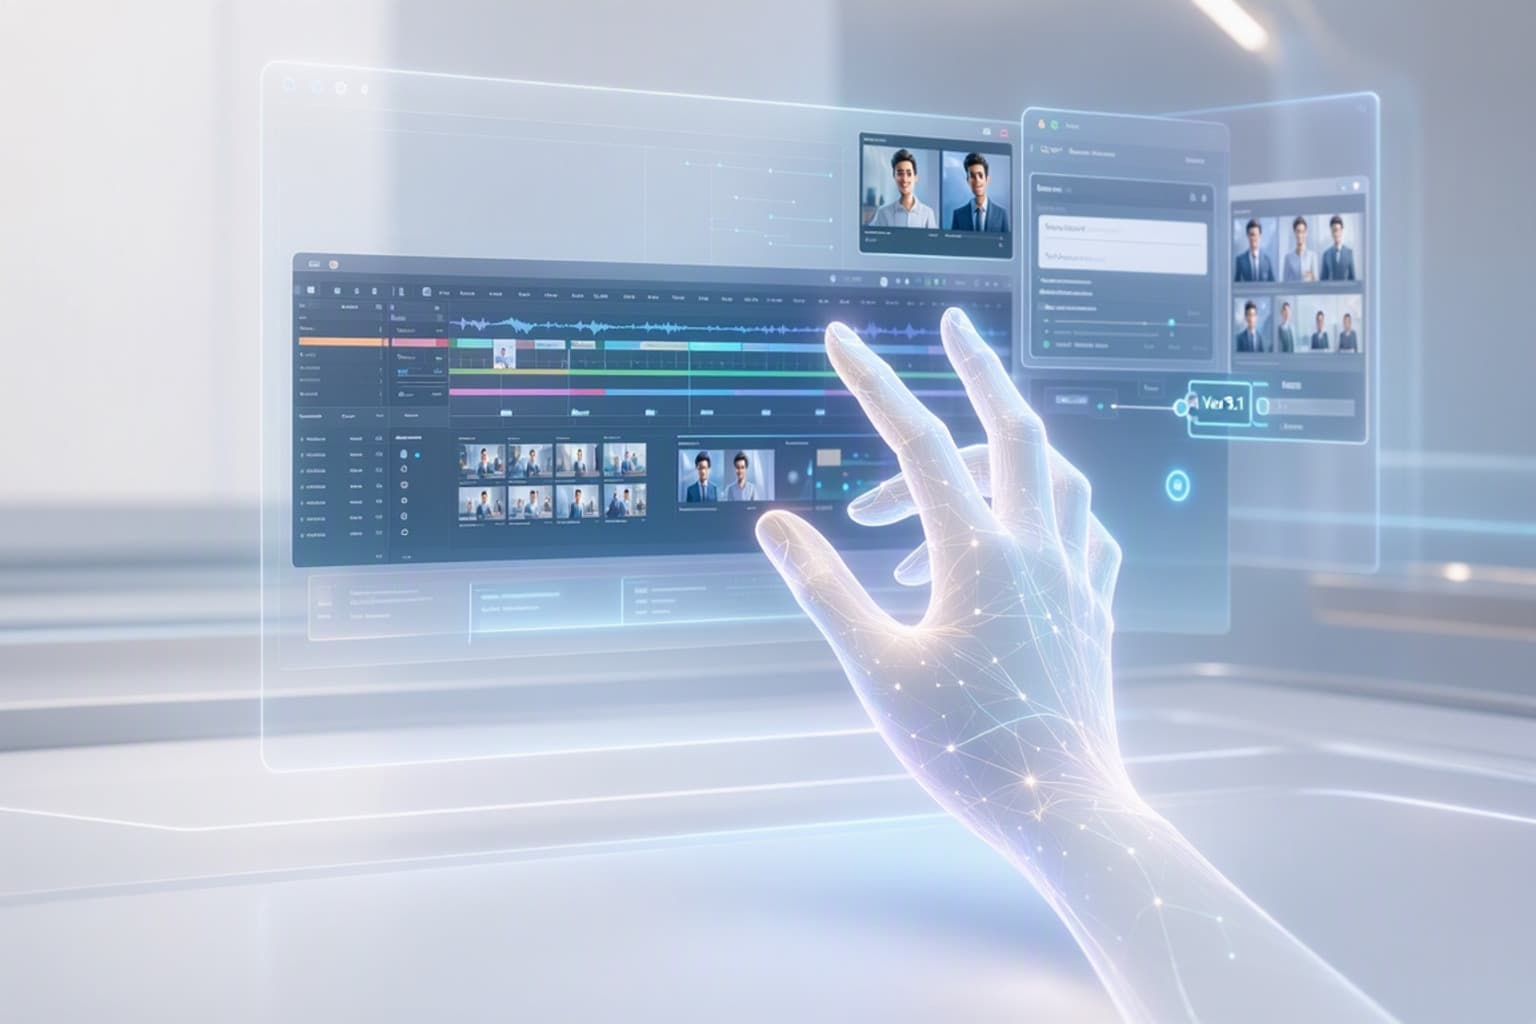
The 2026 interface redesign makes Flow significantly easier for newcomers. Asset management now feels like organizing files in Google Drive instead of hunting through endless generations. The Scene Builder gives you actual control over multi-shot sequences rather than hoping the AI guesses your intent correctly.
Flow's differentiation is in its production structure: the Scene Builder, character profiles, and camera control system make it more suitable for narrative content and multi-shot sequences than competitors focused purely on single-shot generation. You can maintain consistent characters across multiple scenes, something that was nearly impossible with first-generation AI video tools. This matters because you can now plan actual stories instead of generating random clips and hoping they fit together.
The timing is right because the technology finally crossed the usability threshold. Early 2025 tools required constant regeneration and luck. Current Flow tools let you iterate with purpose. You describe what you want, review what you get, and refine with specific edits rather than starting over.
Getting Started with Google Flow: Your First 15 Minutes
Navigate to labs.google/fx/tools/flow and sign in with your Google account. The platform loads directly in your browser with no installation required. You'll land on the main workspace showing recent generations, prompt input, and model selection.
Click "New Project" in the top left corner. The interface presents three creation paths: single image, single video, or multi-scene project. Start with single image to understand the basics before moving to video.
Your first generation takes about 30 seconds. Type a simple description like "a golden retriever puppy sitting in a field of sunflowers at sunset" and hit generate. The system uses Nano Banana by default for image requests and displays four variations. Click any image to enlarge, download, or use as a starting point for refinement.
Navigating the Redesigned 2026 Interface
The left sidebar contains your asset library organized by project folders. Recent generations appear at the top, with older work archived below. Click the folder icon to create project-specific collections instead of scrolling through hundreds of unorganized outputs.
The center workspace is where generations appear. The top toolbar switches between image, video, and scene builder modes. The right panel shows generation settings: aspect ratio, style presets, and advanced options that you can ignore initially.
The new search function in the asset library actually works now. Type keywords from your prompts or use filters like "videos only" or "created this week" to find specific generations. This was the most requested feature from 2025 users who lost track of good outputs in massive libraries.
Scene Builder lives in its own tab and becomes relevant once you start video projects. It displays a timeline view where you arrange multiple shots, maintain character consistency, and control camera movements. The interface resembles basic video editing software, which helps if you've used tools like iMovie or Premiere.
Creating Your First Image with a Simple Prompt
Image generation works best with specific descriptions rather than vague concepts. Instead of "a nice landscape," try "a rocky coastline with crashing waves under stormy gray clouds, dramatic lighting, cinematic composition."
The prompt structure that consistently works: subject + setting + lighting + style. "A red sports car (subject) parked on a mountain road (setting) during golden hour (lighting) in photorealistic style (style)." This gives the AI clear direction for each element.
Click generate and wait 20-30 seconds. Flow produces four variations automatically. The differences are usually subtle: different angles, slightly varied lighting, or alternative compositions of the same concept. Pick the closest match and click "Refine" to adjust specific elements.
Refinement prompts work as additions to your original. If the car's color isn't quite right, type "make the car a deeper shade of red" rather than rewriting the entire prompt. The AI understands contextual edits and maintains everything else from the original generation.
Generating Your First Video with Veo 3.1
Video generation requires a Google AI Plus subscription at $19.99 monthly. The free tier lets you experiment with images but locks video creation behind the paywall. This is the biggest decision point for beginners: whether to commit before you've mastered image generation.
Once subscribed, switch to video mode in the top toolbar. The interface adds duration controls (2-6 seconds for basic clips, up to 10 seconds with advanced settings) and motion intensity sliders. Start with a 4-second clip to keep generation time reasonable.
Video prompts need motion descriptions that image prompts don't. "A golden retriever puppy sitting in a field" creates a static shot. "A golden retriever puppy running through a field of sunflowers, camera tracking alongside at dog's eye level" gives the AI movement to generate.
First video generation takes 2-3 minutes. The system shows a progress bar and estimated completion time. Results appear as playable clips with download and refinement options. Quality varies more than images, expect to regenerate 2-3 times before getting usable footage.
Understanding Google Flow's AI Models: Nano Banana, Veo 3.1, and Gemini Omni
Flow runs on three specialized models instead of one general-purpose system. Each handles different creation tasks and they work together when you use advanced features. Understanding which model does what helps you troubleshoot when outputs don't match expectations.
Nano Banana powers all image generation. Veo 3.1 handles video creation. Gemini Omni Flash enables natural language editing and multi-media input workflows. You don't manually switch between them, Flow routes your request automatically based on what you're creating.
The models share training data for consistency. A character you generate in Nano Banana maintains similar appearance when brought into Veo 3.1 for video. This cross-model consistency is what makes Flow's Scene Builder possible. Earlier tools from other companies struggled because their image and video models had different visual styles.
Nano Banana for Image Generation
Nano Banana specializes in still image creation with emphasis on photorealism and artistic styles. It generates 1024x1024 images by default with options for portrait, landscape, and square formats. The model handles complex scenes with multiple subjects better than first-generation tools that struggled with composition.
Generation speed averages 25-30 seconds per batch of four images. The free tier allows generous daily limits, typically 100-150 generations depending on server load. This is enough for serious experimentation without hitting restrictions.
Quality is consistently high for common subjects: people, animals, landscapes, products, and architectural scenes. The model struggles with very specific technical diagrams, precise text rendering, and uncommon objects it hasn't seen during training. For those edge cases, you'll need specialized tools or manual editing.
Style control works through keywords in your prompt. Add "oil painting style," "pencil sketch," "anime aesthetic," or "vintage photograph" to shift the visual approach. The model interprets these style directions while maintaining your subject description.
Veo 3.1 for Video Creation
Veo 3.1 generates video clips from 2-10 seconds with 1080p resolution. The model excels at camera movements, realistic motion physics, and maintaining visual consistency across frames. This is the technology that finally made AI video look professional instead of obviously synthetic.
Character persistence is Veo 3.1's standout feature. Generate a character in one shot, save their profile, and reference them in subsequent videos. The model maintains facial features, clothing, and proportions across different scenes. This was nearly impossible in 2025 tools that treated each generation as completely independent.
Multi-shot consistency extends beyond characters to settings and objects. Create an interior room in one shot and revisit it from different angles in later shots. The model remembers spatial relationships and maintains lighting conditions. This lets you build actual scenes instead of hoping random generations happen to match.
The model requires clear motion descriptions. "Camera slowly zooms in on subject's face" works better than "dramatic shot." Specific camera language (dolly, pan, tilt, tracking shot) gives better results than vague directional terms. Think like a cinematographer describing a shot to a camera operator.
Gemini Omni Flash for Natural Language Editing
Omni Flash is Google's newest generative model that lets you create and edit videos using natural language. Instead of regenerating entire clips, you describe specific changes and the model applies them while preserving everything else.
The editing workflow feels conversational. Generate a video, then type "make the sky more orange" or "add falling leaves in the background." Omni processes these instructions as targeted edits rather than complete regenerations. This saves time and gives you iterative control that wasn't possible before.
Multi-media input is where Omni gets interesting. Upload a reference image and describe how you want it animated. Provide a video clip and ask for specific modifications. Combine text, images, and video in a single prompt to create complex outputs. The model understands context across different media types.
The system works behind the scenes in Flow's refinement tools. When you use natural language to edit a generation, you're actually using Omni Flash. Most beginners don't realize they're working with multiple AI models because the interface hides the complexity.
Free Tier vs. Google AI Plus: What You Actually Get and When to Upgrade
The free tier gives you full access to image generation with daily limits around 100-150 generations. You can create, download, and use images commercially without restrictions. The asset library, basic editing tools, and prompt refinement all work on free accounts.
Google AI Plus at $19.99 monthly unlocks video generation, higher daily limits, and priority processing during peak hours. You also get early access to experimental features before they roll out to free users. The subscription covers all Google AI tools, not just Flow, so you get Gemini Advanced and other premium features.
Video access is the primary reason to upgrade. If you're only creating images, the free tier handles most use cases. Once you want to generate video clips, the paywall stops you completely. There's no reduced video limit on free accounts, it's simply unavailable.
What's Included in Google Flow's Free Tier
Image generation with Nano Banana is unlimited in terms of features but capped at daily volume. You get all aspect ratios, style controls, and refinement tools. The only restriction is how many generations you can run per 24-hour period.
The asset library stores all your generations indefinitely. Google doesn't delete old work or limit storage space for Flow outputs. You can build a library of thousands of images without hitting storage caps.
Basic project organization works on free accounts. Create folders, tag generations, and use the search function to manage your library. The multi-scene builder interface is visible but video generation within it requires a subscription.
Commercial usage rights apply to free tier outputs. Google's terms allow you to use generated images in client work, products, marketing, and sales without additional licensing. This is more permissive than some competitors who restrict commercial use to paid tiers.
When Google AI Plus ($19.99/Month) Makes Sense
Subscribe when you have a specific video project that justifies the cost. If you're experimenting or learning, master image generation on the free tier first. Once you understand prompt engineering and have a clear use case for video, the subscription becomes worthwhile.
The math works if you'd otherwise pay for stock video. A single month of Flow video generation can produce dozens of custom clips that would cost hundreds or thousands from stock libraries. The break-even point is low if you regularly need video content.
Priority processing matters during US evening hours when servers get congested. Free tier generations can slow to 2-3 minutes per image during peak times. Paid accounts maintain faster processing regardless of server load. This matters more if you're working professionally with deadlines.
The subscription includes Gemini Advanced, which gives you the most capable version of Google's AI assistant. If you'd subscribe to Gemini Advanced anyway, Flow video access comes as a bonus feature rather than a separate cost.
Mastering Prompts: How to Write Instructions That Generate Exactly What You Want
Effective prompts balance specificity with flexibility. Too vague and the AI fills gaps with generic choices. Too restrictive and you eliminate the creative variations that often produce the best results. The goal is guiding the AI's focus without micromanaging every pixel.
Structure your prompts in layers: core subject, environment, technical details, style. "A chef preparing pasta (subject) in a rustic Italian kitchen (environment), shallow depth of field, warm lighting (technical), shot on 35mm film (style)." This hierarchy helps the AI prioritize what matters most.
Iteration beats perfection on the first try. Generate, evaluate what's close, and refine with specific adjustments. "Make the lighting warmer" or "change the camera angle to low perspective" targets improvements without rewriting everything. This refinement approach is faster than chasing the perfect prompt.
Reference successful prompts from your library. When a generation works well, save the exact prompt text. Build a personal collection of proven structures for different content types. This eliminates starting from scratch each time. For advanced prompt templates that consistently produce professional results, the Make $100K-Looking Ads Using Just VEO 3 Prompts pack includes 20+ high-converting JSON prompts designed specifically for product ads and commercial content.
Anatomy of a High-Quality Image Prompt
Strong image prompts start with a clear subject using specific nouns. "A dog" becomes "a golden retriever puppy, 8 weeks old, with fluffy fur." Specificity eliminates ambiguity and gives the AI fewer decisions to make.
Environmental context comes next. Describe the setting with enough detail to establish mood but not so much that you're writing a novel. "In a modern minimalist kitchen with white marble countertops and natural light from large windows" paints a clear scene without excessive detail.
Technical photography terms improve quality dramatically. Add "shallow depth of field," "golden hour lighting," "shot on 50mm lens," or "high contrast" to trigger the AI's understanding of professional photography. The model learned from millions of images tagged with these terms.
Style keywords close the prompt. "Photorealistic," "cinematic," "editorial photography," or "product photography style" set the overall aesthetic. You can combine styles: "cinematic photorealistic style with slight film grain" gives you multiple style directions that blend together.
Before: "A coffee cup on a table." After: "A ceramic coffee cup with latte art on a wooden table, morning sunlight streaming through window creating soft shadows, shallow depth of field, warm tones, shot on 35mm film, lifestyle photography style."
The second prompt gives the AI specific direction for every visual element. Results will vary but they'll all share the intended mood and quality level.
Video Prompt Strategies for Consistent Characters and Settings
Video prompts need motion verbs that describe how things move, not just what's in the frame. "A woman walks through a park" is better than "a woman in a park," but "a woman walks confidently through a park, camera tracking alongside at shoulder height, autumn leaves falling around her" gives the AI clear motion choreography.
Character descriptions should be detailed enough for consistency across shots. "A woman in her 30s with shoulder-length brown hair, wearing a navy blue jacket and jeans" is more consistent than "a woman." Save character profiles in Flow's Scene Builder to reference them in multiple videos without rewriting descriptions.
Camera movement language matters more in video than images. Learn basic cinematography terms: dolly in (camera moves toward subject), dolly out (moves away), pan left/right (camera rotates horizontally), tilt up/down (camera rotates vertically), tracking shot (camera follows moving subject). These terms produce more intentional results than "the camera moves around."
Multi-shot planning requires thinking in sequences. Instead of generating random clips, plan a three-shot sequence: establishing shot of location, medium shot of character entering, close-up of character's reaction. Write prompts for each shot that reference the same character and setting details. This creates visual continuity that feels professionally edited.
New 2026 Features: Universal Cart, Enhanced Search, and What's Coming
The Universal Cart rolls out to US users in Summer 2026 and changes how you manage generations across sessions. Previously, you'd generate images or videos and immediately download or lose them in your library. The cart lets you collect favorites from multiple sessions, organize them into collections, and export entire projects at once.
Enhanced search uses semantic understanding instead of just keyword matching. Search for "sunset beach scenes" and get relevant results even if your original prompts used different words like "coastal" or "evening." The system understands concept similarity, which makes finding old generations dramatically easier.
The Summer 2026 update also includes extended clip length up to 15 seconds for video generations. This doesn't sound like much but it's the difference between a quick cut and a shot with actual pacing. Longer clips reduce the number of generations needed for a complete scene.
Google's roadmap mentions object persistence and camera motion orchestration coming later in 2026. Object persistence would let you maintain specific props or vehicles across shots the same way character profiles work now. Camera motion orchestration gives you timeline-based control over camera movements instead of describing them in text.
Automating Your Google Flow Workflow for Faster Content Production
Workflow automation turns repetitive tasks into one-click processes. Instead of manually generating, downloading, organizing, and editing dozens of assets, you set up automated sequences that handle the busywork. This matters when you're producing content at scale rather than creating one-off projects.
The concept is simple: define a workflow once, then trigger it repeatedly with different inputs. For example, create a workflow that generates a product image, applies consistent styling, adds it to a specific project folder, and exports it in three different sizes. Run this workflow for every product in your catalog instead of manually processing each one.
Flow doesn't have built-in automation tools yet, but it integrates with no-code automation platforms through API access. You can connect Flow to tools like n8n, Zapier, or Make to build custom workflows. These platforms use visual interfaces where you drag and connect blocks instead of writing code.
The learning curve for automation is steeper than basic Flow usage. Start with simple workflows like "generate image from prompt list and save to Google Drive" before attempting complex multi-step processes. The time investment pays off once you're creating hundreds of assets monthly. For ready-made automation templates that work specifically with AI tools, the 2000+ n8n AI Workflow pack includes over 2000 pre-built workflows you can customize for your Flow projects without starting from scratch.
Batch processing is the most practical automation for beginners. Prepare a spreadsheet with 50 product descriptions, feed it into an automated workflow, and generate all 50 images overnight. This approach works for product catalogs, social media content calendars, and any scenario where you need variations on a theme.
Next Steps: Your First Real Project with Google Flow
Pick a small project with clear constraints. Create five social media images for an upcoming product launch. Generate a three-shot video sequence showing your morning routine. Build a mood board with 20 variations on a visual concept. Defined scope prevents endless experimentation without finished output.
Start with images even if video is your end goal. Image generation teaches prompt engineering principles that directly transfer to video. You'll iterate faster, learn the interface thoroughly, and build confidence before adding the complexity of motion and timing.
Set a deadline. "I'll complete this project by Friday" forces decisions and prevents perfectionism. Your first Flow project won't be your best work, and that's fine. Finished beats perfect when you're learning.
Join Flow communities on Reddit, Discord, or X where creators share prompts, techniques, and troubleshooting help. The r/GoogleFlow subreddit has daily prompt challenges and feedback threads. Seeing what others create with similar tools accelerates your learning curve.
Document what works. Keep a simple text file of successful prompts, settings that produced good results, and lessons learned. This becomes your personal knowledge base that makes each project easier than the last.
The technology is ready. The tools are accessible. The only remaining variable is whether you start creating or keep waiting for the perfect moment. Open Flow, type a description of something you want to see, and hit generate. Everything else is just iteration from there.
Get the newsletter
One sharp idea every Sunday.
No fluff. No sales pitches. Just the best of what we publish, hand-picked.
Continue Reading
Related Articles

Best AI Tools for Business Growth in 2026
Most companies treat AI like a fancy calculator. They open ChatGPT, type a question, get an answer, and call it innovation. Meanwhile, a smaller group of businesses has figured out something different...

Mastering AI Prompt Engineering in 2026: Tools & Techniques
AI prompt engineering has evolved from experimental tinkering into a production-critical discipline that separates functional AI systems from expensive failures. The ability to craft precise, structur...

AI-Powered Video Creation: The 2026 Guide to Top Tools
Video content now accounts for 82% of all internet traffic. That's not a prediction anymore. It's the baseline reality every creator and business operates within today....